Showing posts with label silver leaf. Show all posts

Wednesday, April 13, 2011

The Tale of Two Tables


*This blog post is brought to you buy two thrifting pals, who never leave a thrift shop empty handed! 
If you want to read the other half of the story you can read it here.

Once upon a time in a land far, far away, where the rain falls freely, giant trees tower above, snow covered peaks loom and the ocean waves crash upon the shore...

Two blogging and thrifting pals, Barbara from hodge:podge and Carol from The Design Pages, were on the hunt for an end table for their lovely daughters. While on one of their thriftting excursions they hunted high and low for the perfect table, one that had good "bones".  But alas, they came away without finding that perfect table {but they found other treasures, that is a another story for another day}

Sniff....

The one friend decided to search Craigslist to see what she could find. One stormy evening she stumbled across a bedroom set that had the perfect pair of end tables. She emailed the seller and asked if they would be willing to separate the set. The seller said "yes". Quickly,  the ever-so-excited-friend emailed the other friend a link and asked if she was interested. $50 bucks for the pair! 
"Why yes!!!" she said, "how perfect!"

The thrifty gals took their tables home and worked their magic on them, transforming them from their 70's lacquered horror to glamourous side tables fit for their princesses.

They went from this:


To this:


Carol  painted her table with a glossy black paint and silver leafed the top and handles to create a table fit for a queen.

Want to know her costs? And how she did it? Visit her blog to find out more.

Want to know how I worked my magic? 


My costs:

Table: $25
Paint: 1 quart Behr indoor latex in satin finish, $18
{colour matched to Benjamin Moore's Spectra Blue}
Primer: Benjamin Moore's oil-based primer, already had on hand {cost $18}
Sealant: Diamond Finish Sealant in satin by Varathane, already had on hand {$14}
Handles were left as-is

Total cost: $34

How I did it:

Using a power sander I sanded the surface of the table as the finish was quite damaged. Then I painted on a coat of oil-based primer with a foam roller for a nice smooth finish and using a foam brush for the crevices. Next, I painted the table with 2 coats of the Behr paint, using a foam roller and good quality paint brush.  Finally, using a foam brush I painted on 3 coats of the Varathane sealant.
Screw back on the handles and 

voila!


And this table lived happily ever after.

The End

xo Barbara

Tuesday, December 14, 2010

{thanks}

Thanks to


Hoping to join in the Nester's Christmas 2010 Tour of Homes tomorrow, trying to sort through photos.


My new blog header has also been delayed due to my indecisiveness about colours and fonts. Crazy, huh?
Didn't think it would be so difficult!

xo Barbara

Friday, December 3, 2010

{how-to make a silver leaf dresser: an ikea rast hack}

Do you want to know how to take this:


To this?


Re-inventing the Ikea rast dresser was VERY easy and relatively inexpensive. It is constructed of solid wood making it a great surface to paint, wallpaper, stain, etc.

Because I am frugal and love to DIY, I decided to silver leaf the drawer fronts of the dresser and change the knobs to give the Ikea Rast dresser the glamour treatment. 

This project was easy, as silver leaf is very easy to work with. Silver leaf is very delicate and light but forgiving, the first few tries will be tricky but you'll get the hang of it quite quickly. It is easy to patch up and cover gaps with bits of silver leaf. I find it amazing how it all blends together. What I found was that silver leafing wood with a grain was a bit more challenging to get a seamless finish than on a smooth surface such as my lamp.


Materials needed:

Rast dresser from Ikea {I paid $29 but it is showing up online as $39 - must of been my lucky day}
Black paint {or colour of your choosing} I used Benjamin Moore's Aura paint in black
Silver leaf  {I used a package of 24 sheets and leftover leaf from my lamp project. I would recommend  2 packages of 24 from Michaels}
Gilding adhesive size
Crystal knobs {or knobs of your choice}
Sanding block
Varathane
Paint brush for the paint and wipe-on poly
Smaller paint brush for the size
Fluffy dry paint brush to smooth and dust off silver leaf

How-to:

Assemble the dresser using the instructions provided, but don't mount the drawers into the dresser {the dresser comes with small plastic pieces to keep the drawers from coming out all the way, don't put those in until the dresser is finished}

Lightly sand the dresser with a sanding block and clean off the dust. 

Paint the outside of the dresser and drawer fronts. It took only 2 coats of paint using the Aura paint. I didn't prime because the paint I used has a "built-in" primer. If you use other paint you will want to prime as the surface is raw wood.


When paint is dry, you can start the gilding process on the drawer fronts. 


You will want to do this in an area that is easy to clean up as you will get silver dust everywhere.


Paint on a good layer of gilding size, following the directions on the bottle. I let the size dry until it was tacky to the touch and turned clear.

{I didn't take any photos of this process as there was silver leaf dust everywhere didn't want it to get into the camera lens and was in a hurry}

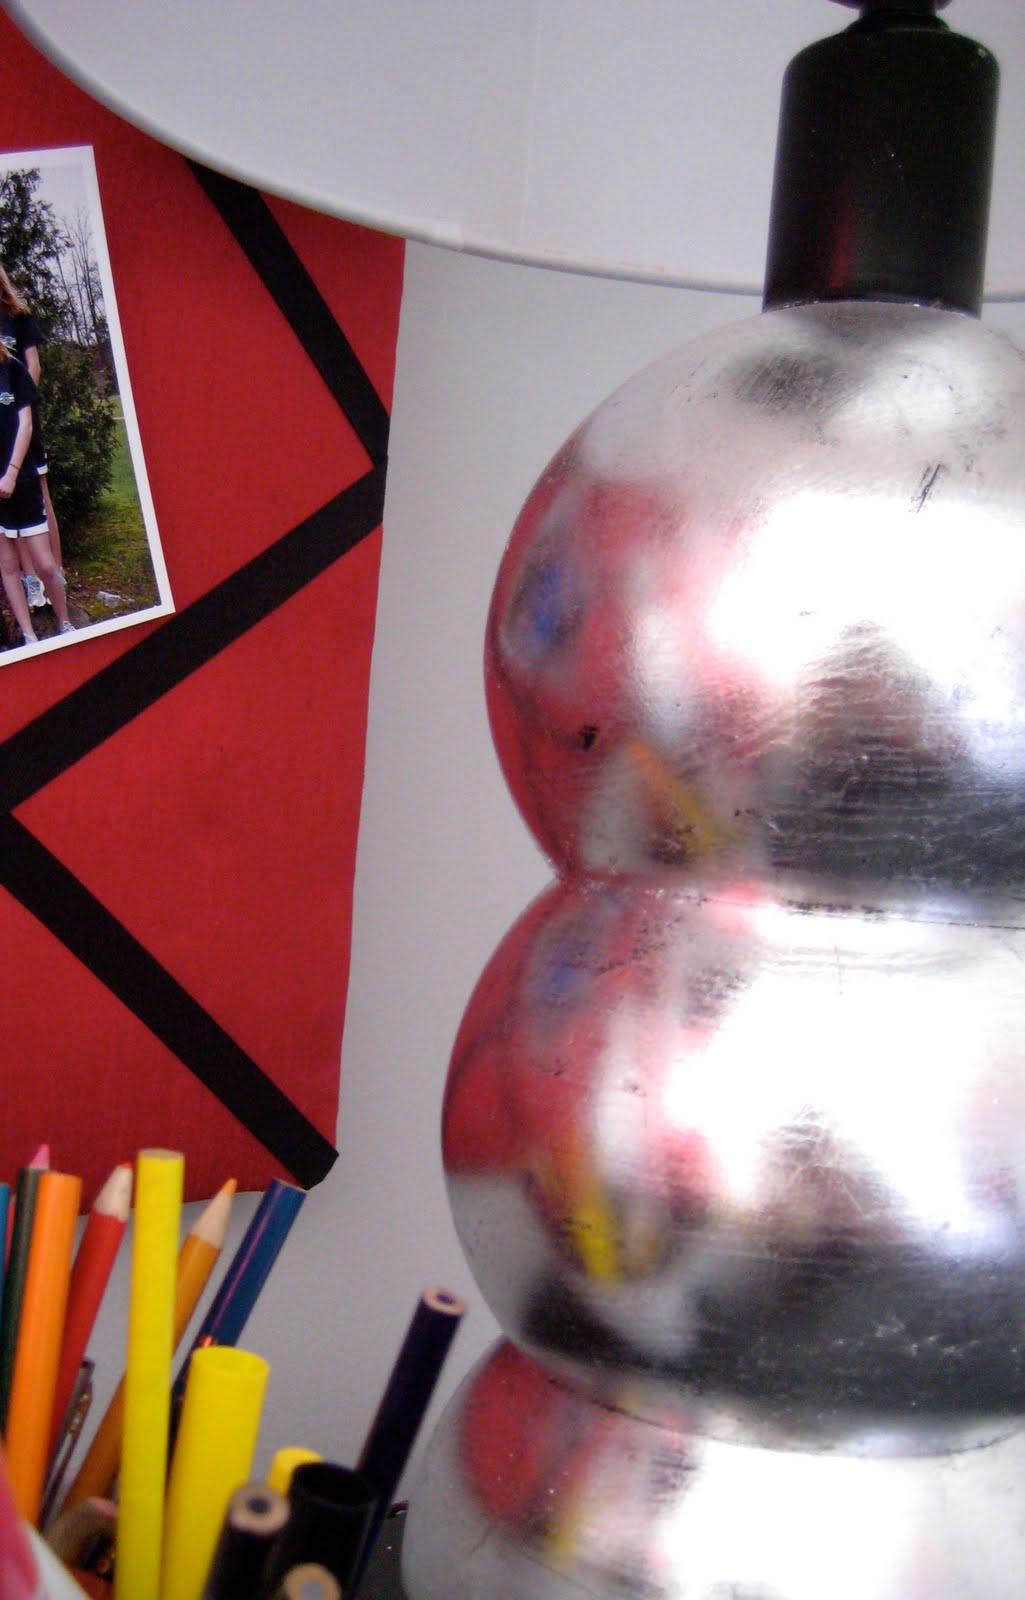
But here are photos of a lamp I gilded, the process is the same.


Now adhere the silver leaf using a brush to pick up the leaf, slightly overlapping each piece. Smooth each piece with a brush, brushing away the loose bits.

Silver leaf is very forgiving. If you missed a spot you can take a little piece of leaf and just smooth it in with your fingers.


After all the drawers fronts are done, paint on varathane to seal the silver finish. I painted 3 coats to give it a durable finish. I also gave the top and sides

{Also didn't take photos - was in hurry to get this finished}


Once dry, add knobs of your choice. I used these crystal knobs from Home Depot. At $6 each, they ended up costing more than the dresser itself but so worth it as they add that extra touch of bling!


Voila!


Happy gilding!

If you have any questions, feel free to comment or email me:
barbaras.hodgepodge@yahoo.ca

XOXO Barbara

*Dec 23:linking to: SNS@Funky Junk Interiors

Monday, November 29, 2010

{a silver leaf dresser: an ikea rast hack}

My teen daughter's room is finally coming together.

The latest improvement to her room is a new side table dresser. It is my version of an Ikea Rast hack. My inspiration was this photo from the September issue of Chatelaine magazine {another great Canadian publication}


I loved the bevel mirrored chest of drawers, which was from Ethan Allen. Wanting to replicate the look I called around for prices on custom cut mirrors. What I found was that most places charge a minimum fee per piece cut, around $40 a piece, then charge $5 per hole, which meant it would cost me $150. The Rast dresser was only $29, so $150 was too much. My daughter also thought the mirrors would be hard to keep clean, she didn't want to be constantly shining them.

Good point.

Glad I consulted with the client.

Instead I used a coat of black paint, silver leaf and crystal knobs to give it the glam it needed.

 The Rast dresser went from this:


to this:


My cost:
Rast dresser from Ikea: $29
black paint {Benjamin Moore Aura paint}: free {leftover}
silver leaf: $7 with 50% off coupon from Michaels
sizing medium: free {leftover from silver leaf lamp project}
crystal knobs: $6 each from Home Depot
Wipe-on poly: free {leftover from previous projects}

Total:$72


I am thrilled with the look. My daughter is glad that her room is finally getting the finishing touches. 


Now I am waiting for the fabric that is on back order to come in so I can make her some drapes!

Saturday, August 7, 2010

~Silver Leaf Lamp's New Home~


Remember the thrift store lamp that went from this


to this using black spray paint and silver leaf? 

(Want to silver leaf? Read how I did it here)


Let me refresh your memory with a trip down memory lane.


This lamp, from now on referred to a "she" was not wanted in our bedroom by a certain husband. He loathed this lamp and sent her to the garage.

She has finally taken up residence on a Craigslist find in my daughter's soon to be finished bedroom. 


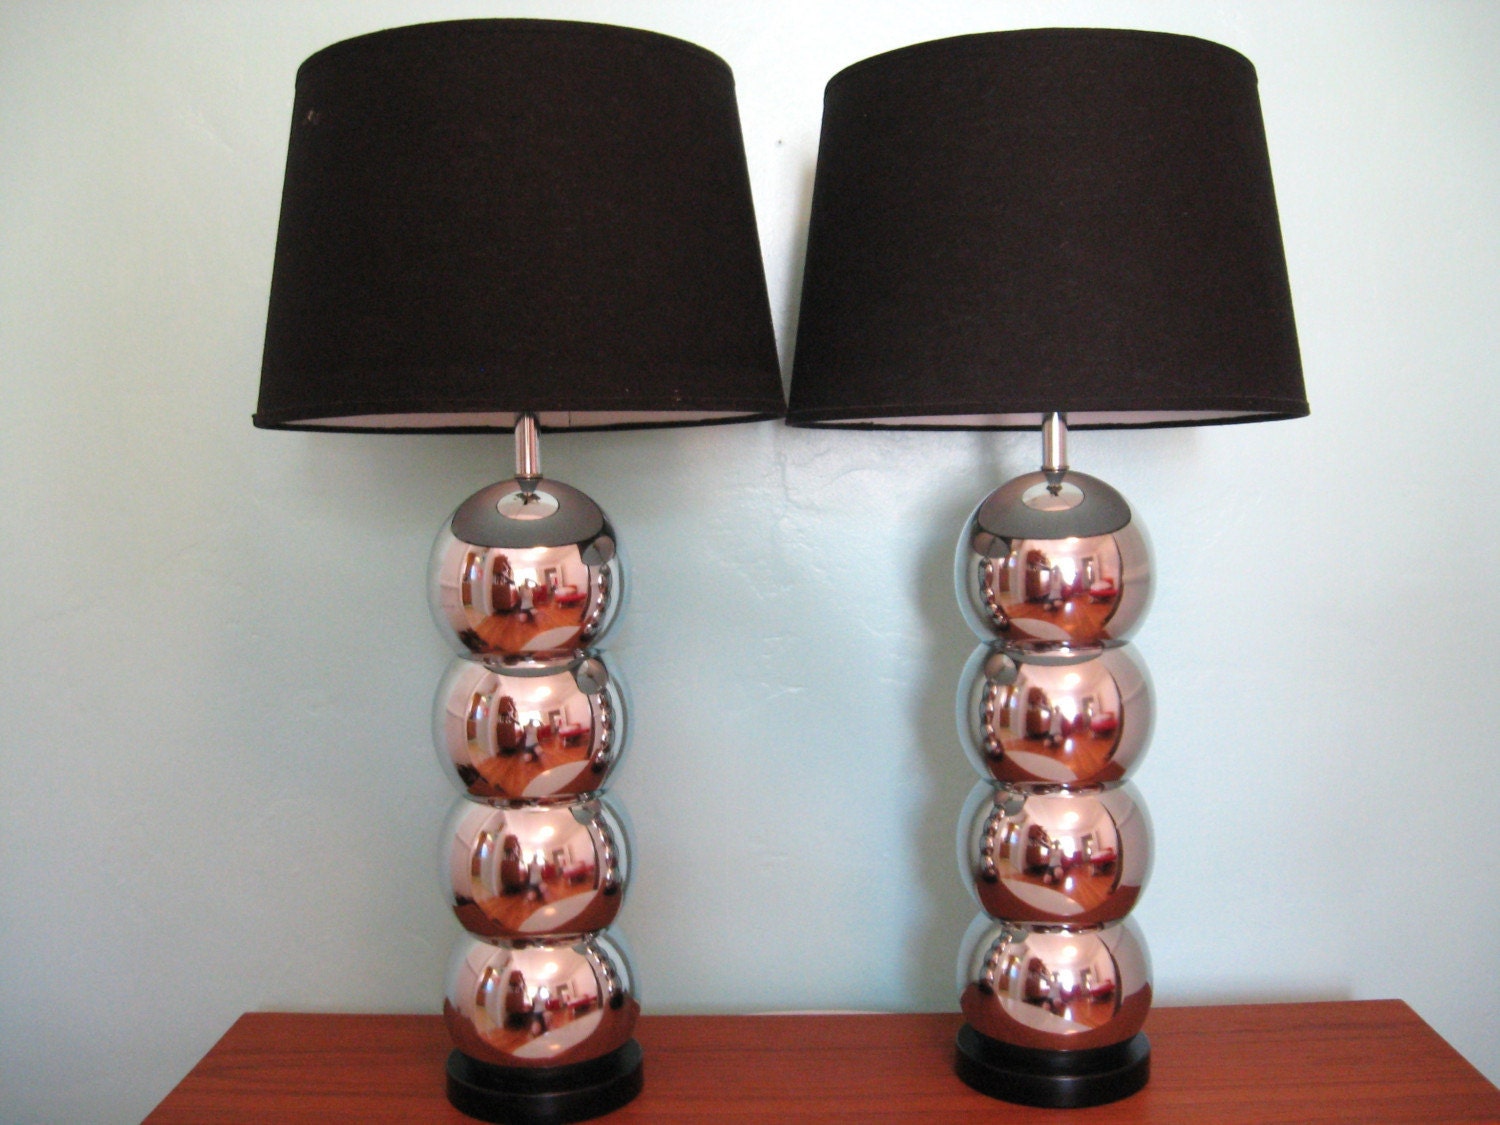
I think she goes well with this lamp I found at Homesense. 

They make such a nice pair...


What is icing on the cake is that I am spotting this style of lamp in decor magazines and on various sites. 

Like this one from the etsy seller from fabulousmess


or this one via decorpad


or these vintage lamps via design*sponge


Ahhh... great minds think alike.


Friday, January 15, 2010

The Midas' Touch: Another Thrift Lamp Makeover

As promised I am showing you what I did with this second thrift store lamp. 


This one cost me $5.99. 


I loved shape of this lamp as well and decided not to spray it white like I did with this one but to really glam it up with some silver leaf. I  could of spray painted it silver but want the aged patina that silver leaf can achieve. I remembered that my mom gave me packages of antique silver leaf along with copper and gold. I decided to give it a whirl. How hard can it be? 


Off to Michaels I went and bought some Metal Leaf Adhesive Size, it cost $4.99. If I was more prepared I could of brought in my 40% off coupon and save me a few loonies. You could get the glue in a spray but that was $11.99 and then it would be hard to control where you want the glue to be on your object.


The next step was to spray my lamp black. I wanted the black to show through the silver. I used Rustoleum's Painter's Touch semi-gloss in basic black. 


After I dried the lamp overnight I was ready to cover it in silver leaf.


 Before you start you need to shake the glue.  Using a paint brush I applied the glue to the lamp base being careful not leave puddles and globs of glue.  I chose not to cover the bottom "plate" and the top "neck" of the lamp.The instructions said to wait about 60 minutes until the glue went from white to clear. It only took about 30 minutes. 


The next part was the fun part. You will need a CLEAN soft bristle brush. All my kids wanted to "help". This is the messy part as silver dust is everywhere. You take an individual silver leaf and lay it in the surface. With your brush smooth it out. 


Take another leaf and lay it beside overlapping slightly. You might think to  yourself, "won't you see the edges of the leaf ?" This stuff is amazing, after laying down leaf upon leaf and brushing it out, they all blend together so nicely. If there are patches that need filling just take a small piece of the leaf (they are incredibly thin and easy to break apart) and lay it down. Brush it smooth with your brush. Silver leaf is VERY forgiving. 


Once you have covered the whole object do a final sweep with your brush over the surface. At this point you can spray it with a laquer or varnish to seal it or just leave it alone. I love the whole aged and worn look so I chose not to seal it.


Now I have a fabulous lamp. 


This poor lamp was kicked out of the entrance way though - my husband (who thinks he knows how to decorate) thought it was too visually cluttering. The lamp is now on our bedroom dresser. I bought a drum shade at Walmart and a lamp harp at Home Depot. Not sure about the shade though (that is why the plastic covering is still on), I may find one that is longer in the height to give it a more balance look. What do you think?


~I love the black showing through~ 


Ta-da!


This lamp is going to join the other amazing projects at:


and

and

and

and

and